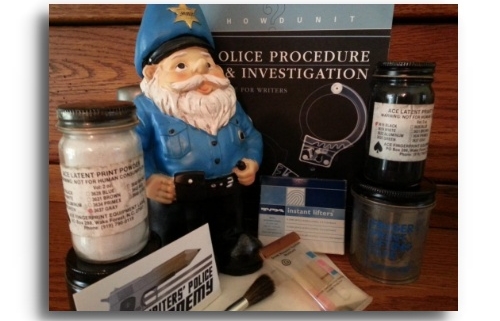
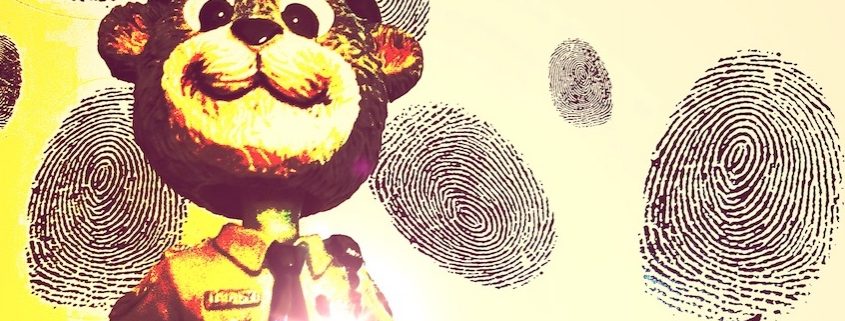
Confused as to which fingerprinting medium is right for the task at hand? Well, Investigator G. Nome has assembled the ultimate guide for the heroes of your tall tales, and he recommends keeping it within easy reach.
Heroes such as Harry Bosch, Jack Reacher, D.D. Warren, Will Trent, or any of their peers, will never again fret over such details.Actually, the creators of those characters—Michael Connelly, Lisa Gardner, Lee Child, and Karin Slaughter—attended training classes at the Writers’ Police Academy to help their protagonists enhance their crime-solving abilities.
The icing on the cake is that many fingerprinting classes at the Writers’ Police Academy are taught by the pros from Sirchie (formerly Sirchie Fingerprint Laboratories). Sirchie manufactures fingerprinting powders, lifters, and a wide range of evidence testing and collection equipment and, well, the list of Sirchie’s products is practically endless. Other printing sessions are taught by CSI experts.
The Writers’ Police Academy and Sirchie partnered to present the unique event, MurderCon.
Anyway, here’s the scoop on processing prints.
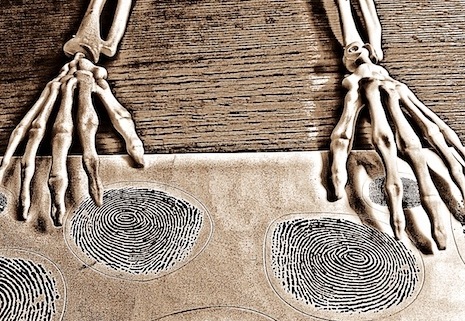
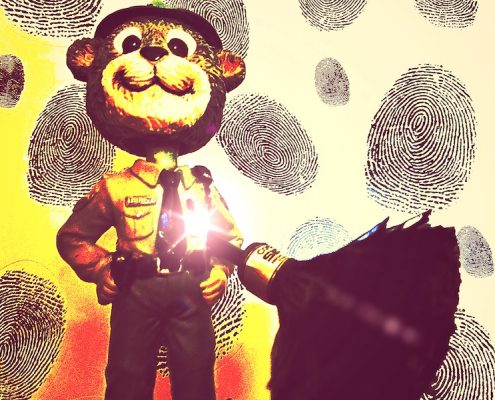
Investigator G. Nome’s Guide to Developing Fingerprints
Before attempting to lift a print from any surface, the savvy investigator will first determine the type of surface to be printed. In addition to surface type and texture (porous, nonporous, etc.), other factors must be considered, such as the presence of foreign matters—dust, dirt, perspiration, blood, oils, grease, and moisture, to name a few.
Lighting is important, including the use of alternate light sources and lasers. The latter two can cause the perspiration and oils in found in some prints to fluoresce, making them easy to see without further developing.
Once investigators have determined the surface type and whether obstacles exist (foreign matter) it’s time to select the proper method and materials needed to properly develop the desired prints(s).
Surface Types
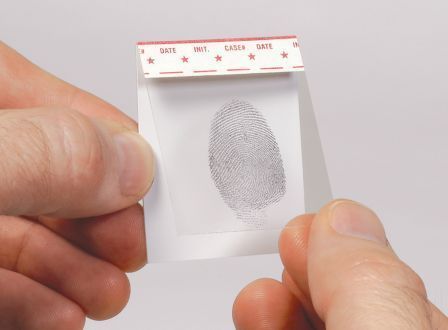
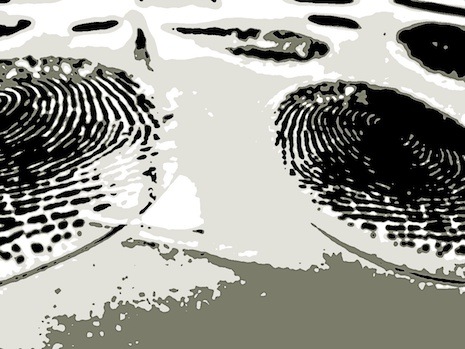
As always, the first order of business is to try and see the prints using only the naked eye. Sometimes they’re quite obvious.
Porous Surfaces – first attempt the naked eye approach. If no prints are obvious, then try fluorescence by laser or alternate light source. If that doesn’t quite work, then it’s time to bring out the big guns, such as…
1. Iodine fuming
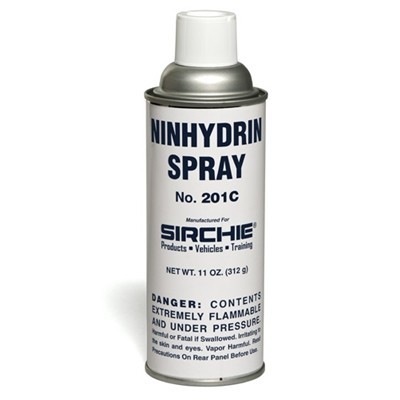
2. Ninhydrin
3. DFO (1,8-Diazafluoren-9-one)
To learn about Iodine fuming and Ninhydrin, please click here to read my article “Ninhydrin and Iodine Fuming.
Non-Porous Surfaces – again, try the naked eye. If no prints are obvious, then try fluorescence by laser or alternate light source. If those steps do not produce results, then use the following to develop invisible prints.
1. Cyanoacrylate fuming (SuperGlue)
2. Cyanoacrylate dye
3. Vacuum metal deposition (VMD)
4. Powder
To learn about developing prints using SuoerGlue, please click here to read my article “Cyanocrylate Fuming – Fingerprinting with Superglue”
Still not satisfied with your options? Okay, let’s call in the specialists …
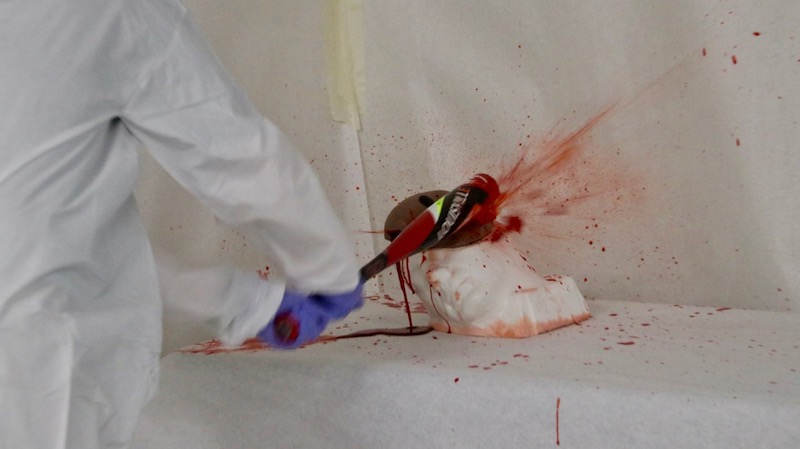
Bloodstained Specimens—Porous Surfaces
1. DFO (1,8-Diazafluoren-9-one)
2. Ninhydrin
3. Powder – amido black
Bloodstained Specimens—Nonporous Surfaces
1. leucocrystal violet (LCV) or amido black
2. Cyanoacrylate fuming (SuperGlue)
3. Cyanoacrylate dye
4. Vacuum metal deposition (VMD)
Cardboard
1. DFO (1,8-Diazafluoren-9-one)
2. Ninhydrin
3. Silver Nitrate
Rubber Gloves—Semiporous
1. Iodine spray reagent
2. Cyanoacrylate fuming
3. Laser or alternate light source
4. Magnetic powder
5. Cyanoacrylate dye
6. Laser or alternate light source
7. Ninhydrin
Tape—Non-adhesive Side
1. Cyanoacrylate fuming
2. Cyanoacrylate dye
3. Vacuum metal deposition (VMD)
4. Powder
Tape—Adhesive Side
1. Sticky-side powder
2. Alternate black powder
3. Ash gray powder
4. Gentian violet
Dark-colored adhesive side of tape
1. Ash gray powder
2. Liqui-Drox
3. Gentian violet
* Should the investigator decide to use Cyanoacrylate fuming, it must be done on the nonadhesive side of tape first, then both sides can be processed with Liqui-Drox.
Photographs—Emulsion Side
1. Iodine spray reagent
2. Cyanoacrylate fuming
3. Cyanoacrylate dye
4. Vacuum metal deposition (VMD)
5. Powder
Photographs—Paper Side—Semiporous
1. Cyanoacrylate fuming
2. Magnetic powder
3. DFO (1,8-Diazafluoren-9-one)
4. Ninhydrin
5. Cyanoacrylate dye
Powder and Other Developer Uses
1. Alternate Black – sticky sides of labels and other tapes.
2. Gentian Violet – adhesive side of various tapes.
3. Sticky-side powder – Duh… This one’s for use on sticky sides of tape.
4. Amido Black (methanol or water based) – prints pressed into bloody surfaces. *water based includes a blood fixative.
5. Cyanoacrylate fuming (SuperGlue) – nonporous surfaces.
6. Cyanoacrylate Florescent Dye – used to enhance prints on non-porous surfaces. Best viewed using alternate light sources.
7. DAB (Diaminobenzidine) – developing prints found in blood. Also useful in this situation are Coomassie Brilliant Blue and Crowle’s Double Stain.
8. DFO (1,8-Diazafluoren-9-One) – porous surfaces; reacts with amino acids in perspiration
*Heating a fingerprint to 40 degrees Celcius forces amino acids to separate from a fingerprint. Add a special chemical to the sample and, with a 99% accuracy, the concentration indicates if the fingerprint belongs to either a male or female. Why? Because females have a different concentration of amino acids than males.
9. Iodine Fuming – porous surfaces containing grease or oils; turns yellowish color/stain
10. Ninhydrin – another product used on porous surfaces. Reacts with amino acids in perspiration.
11. Physical Developer – works on both porous and non-porous surfaces and is especially effective on paper currency.
12. Silver Nitrate – porous surfaces, especially paper. Stains caused by presence of Silver Nitrate cannot be removed. Also, prints developed by Silver Nitrate will totally disappear within a few hours, therefore it is imperative to photograph the prints as soon as they’re visible.
13. Sudan Black – a dye that stains sebaceous perspiration on surfaces contaminated by food items of greasy and oily varieties.
14. Vacuum Metal Deposition – non-porous or semi-porous, such as photographs and magazine pages. Use of VMD causes printed material to become extremely fragile.
15. Liqui-Drox – a fluorescent dye used to develop prints on the adhesive and non-adhesive sides of dark-colored tape.
16. MBD (Fluorescent Dye) – used on various colored surfaces.
17. Safranin O (a florescent dye) – used to enhance prints developed by Cyanoacrylate fuming (SuperGlue). Thenoyl Europium Chelate (Fluorescent Dye) is used to stain those prints. This dye can only be viewed under UV light.
More Graveyard Shift Articles about Fingerprinting
FINGERPRINTING: “E” BEFORE “I” IN THIS HANDY GUIDE
FINGERPRINTING: A JOURNEY FROM J-N
FINGERPRINTING: A JOURNEY FROM O-R
There’s still time to sign up for the 2022 Writers’ Police Academy. Please tell your friends, family, fellow writers. And please share the information to your social media. Thanks!
![]()
June 2-5, 2022
Location – NWTC Public Safety Training Academy
Green Bay. Wi


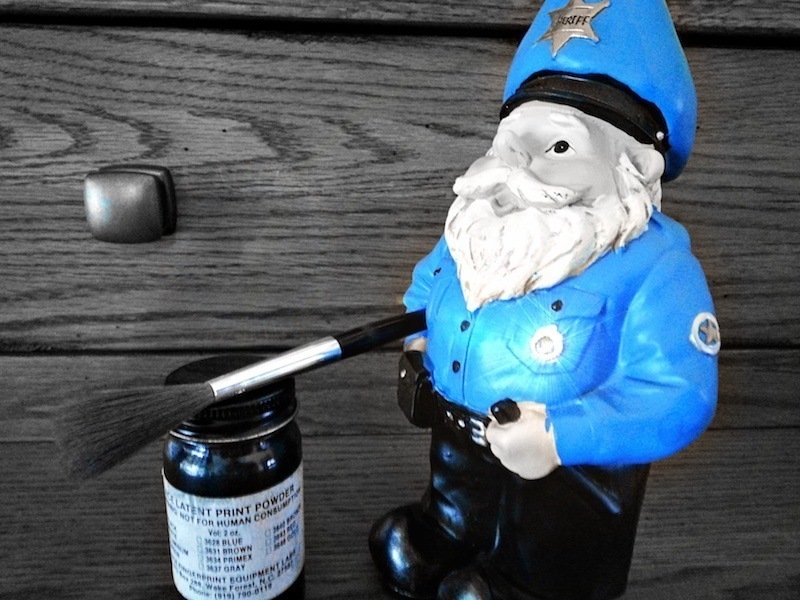
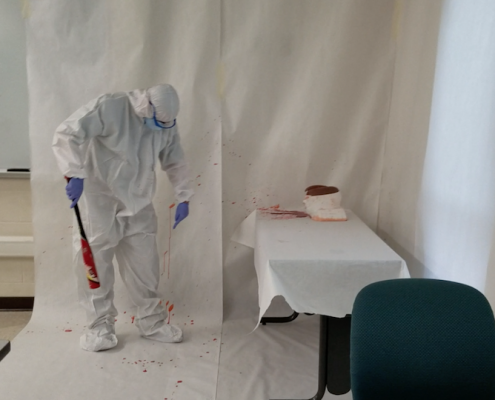
 Prior to dusting for prints investigators should dump/pour a small amount of print powder onto a piece of clean paper. The use of this powder prevents dipping the brush back into the bottle, a means of cross-contaminating the remaining powder (in the bottle) with DNA and other foreign substances.

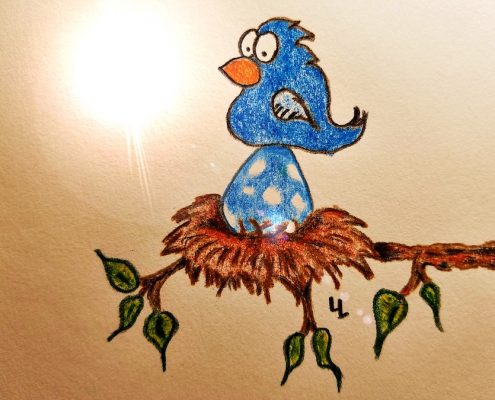
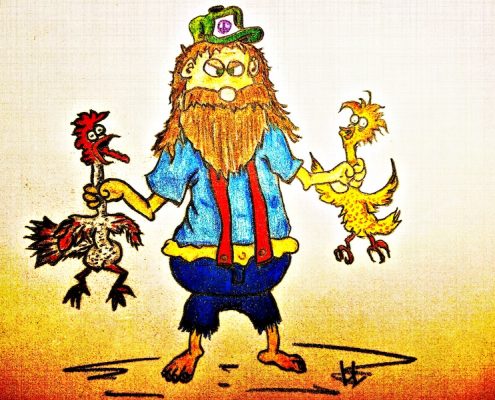 But it was easier to catch chicken thieves back then than it is to catch modern day bird bandits, the bad guys who poach or kill birds of prey and/or steal their eggs. The eggs, by the way, are most often sold to collectors known as “eggers.”